
Introduction to Identity Management for Web and Mobile Apps Using AWS Cognito User Sign Ups
Creating and testing a user pool on AWS Cognito

Software Engineer excited at building real live cloud-native applications using Python. MSc Cybernetics and Communications Engineering from Nottingham Trent University.
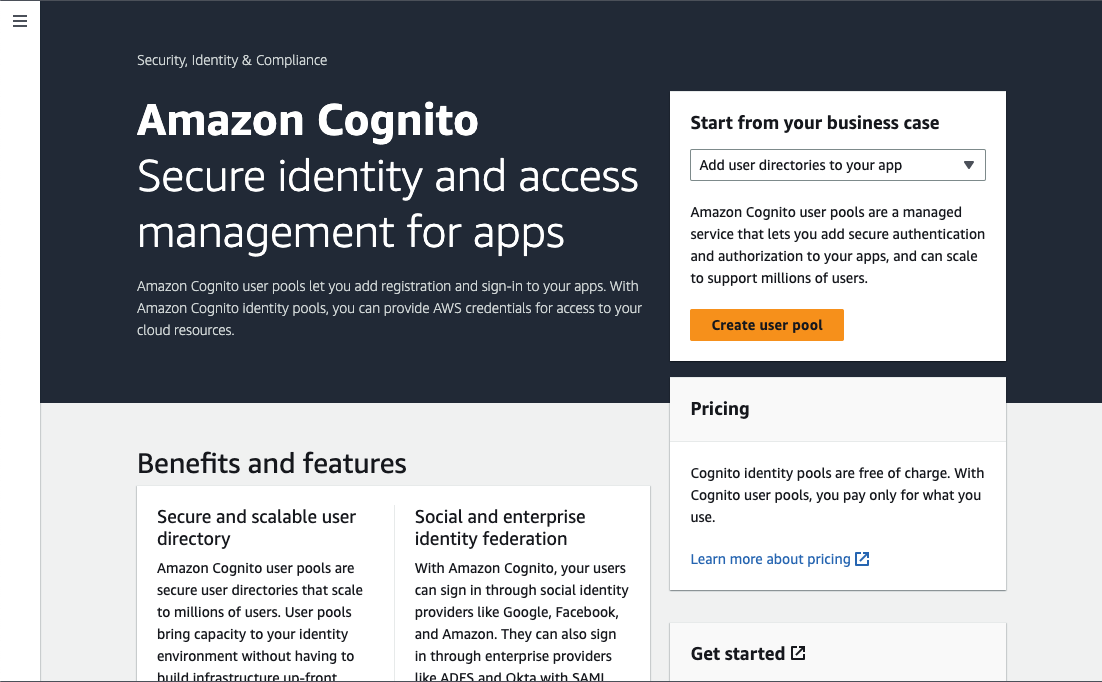
AWS Cognito is a user authentication and management service that provides a secure way to manage user sign-ups and sign-ins for your web or mobile applications. It simplifies the development process for creating user authentication systems and provides secure authentication and authorization mechanisms for your application.
In this blog post, we will explore the concept of user pools in AWS Cognito and give step-by-step instructions for creating a user pool on AWS Cognito.
Prerequisites
Before getting started, there are a few things you will need:
- AWS account. Follow the instructions here to create one if you need one.
Creating a User Pool on AWS Cognito
To get started with AWS Cognito, create a user pool in the AWS Management Console.
An AWS Cognito user pool is a fully managed user directory that allows you to easily sign up and authenticate users for your applications. It provides features such as user registration, login, password management, and multi-factor authentication. User pools integrate seamlessly with other AWS services and can be customized to suit your specific authentication and authorization requirements.
Follow these steps to create a user pool:
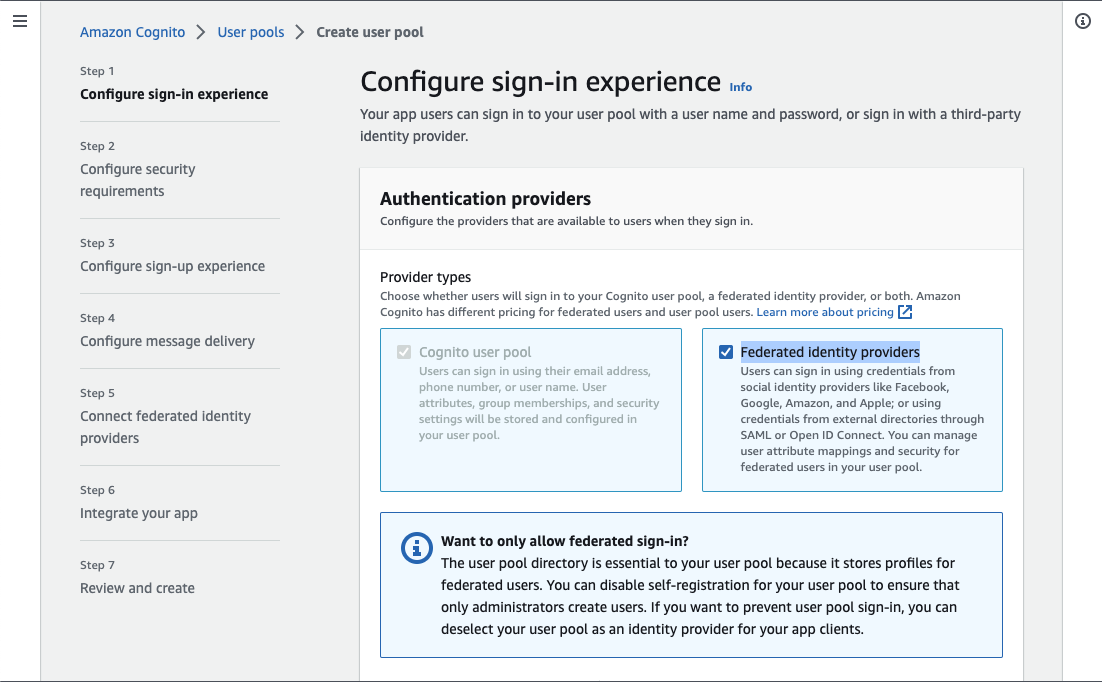
Login into the AWS Management Console as an IAM user and navigate to the Cognito service. (Ensure that your user has the appropriate permissions to use Cognito.)
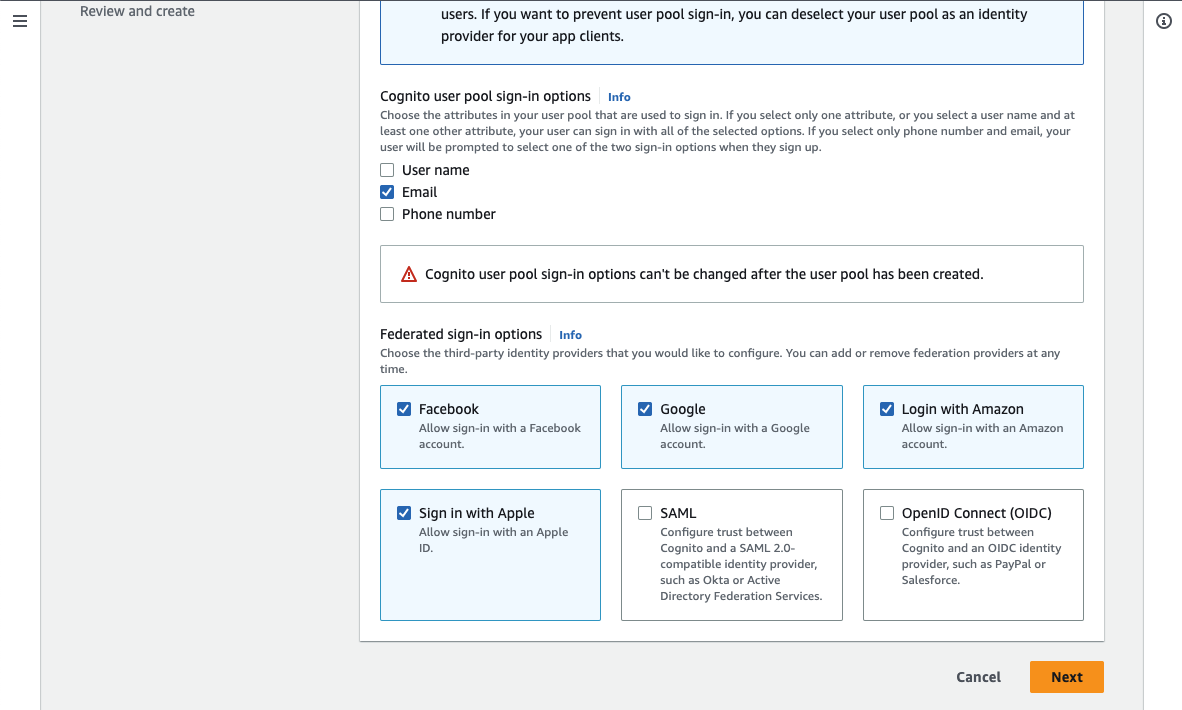
Click Create User Pool. Select Federated identity providers to enable your users to sign in using service providers like Google and Facebook.
Choose the attributes in your user pool that are used to sign in. For this app, we require just an email from the user.
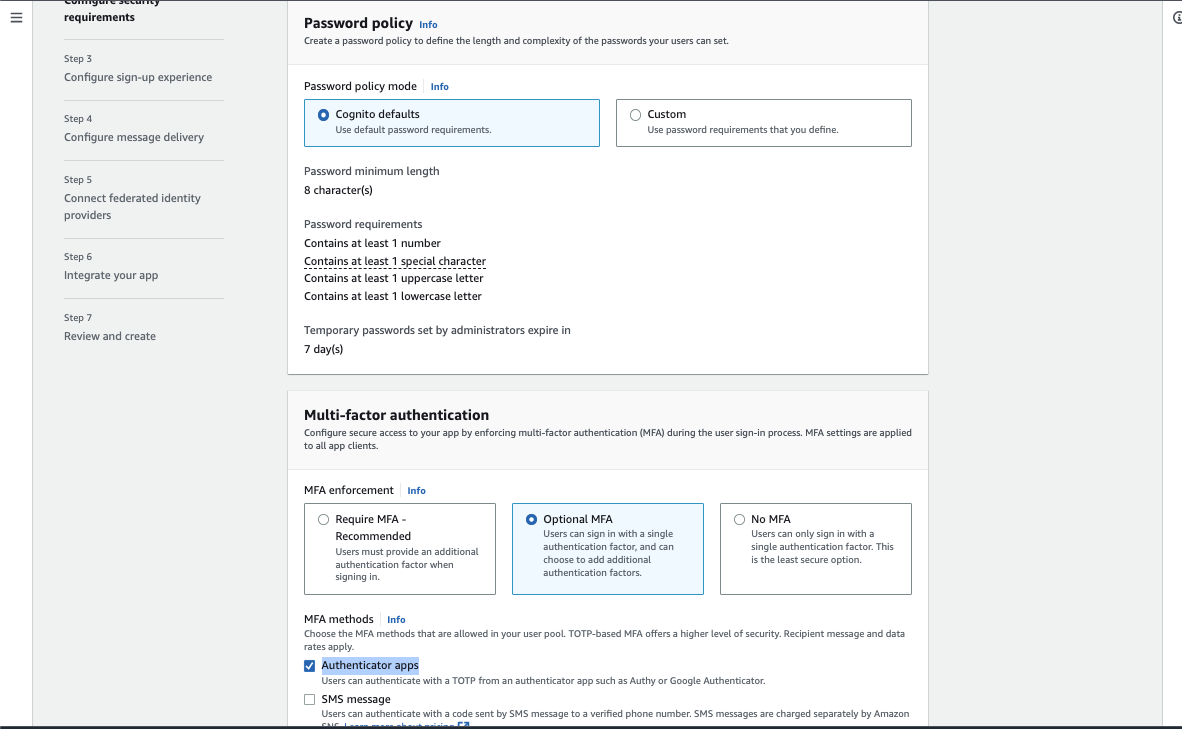
Configure security requirements. Set a password policy, multi-factor authentication (MFA) requirements, and user account recovery options. I am using Cognito's default password policy and optional MFA using Authenticator apps and SMS. Leave other settings as default.
Retain the default settings in Configure sign-up experience. The section contains settings such as user identity verification during sign-up and the required fields in the signup form.
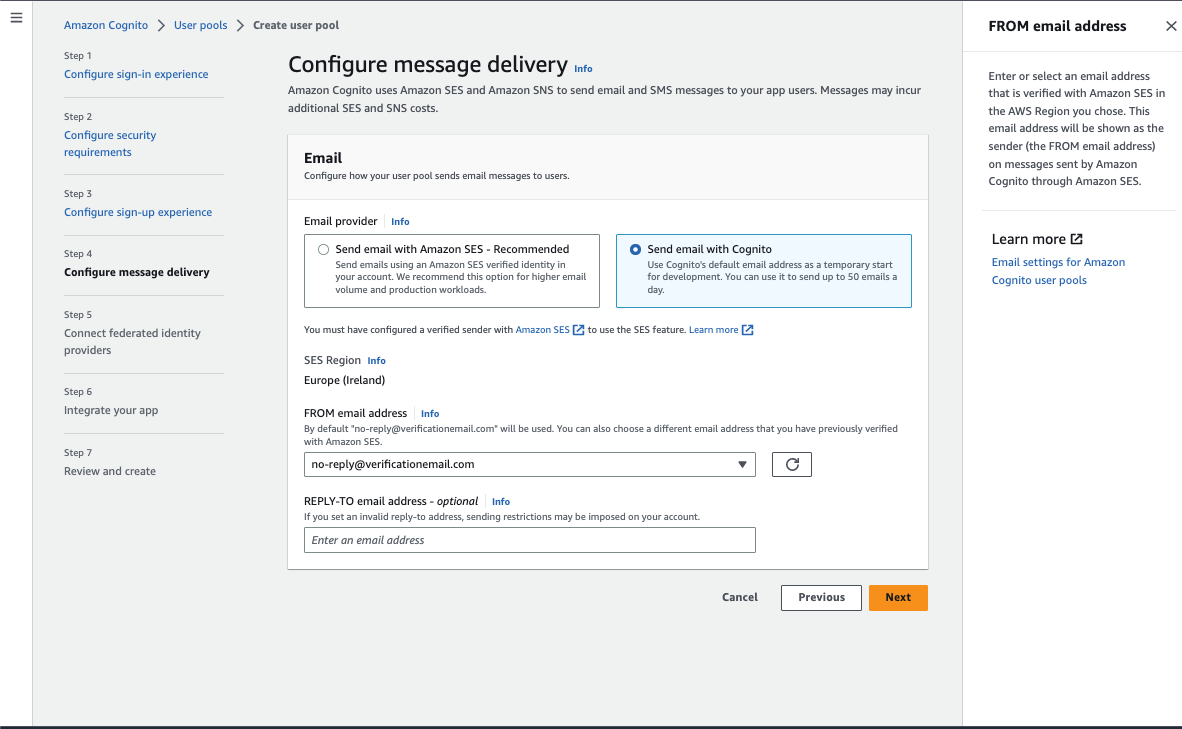
In the next section Configure message delivery, select Send email with Cognito.
Follow the steps to Connect federated identity providers in the next section. You can also choose to temporarily skip this section.
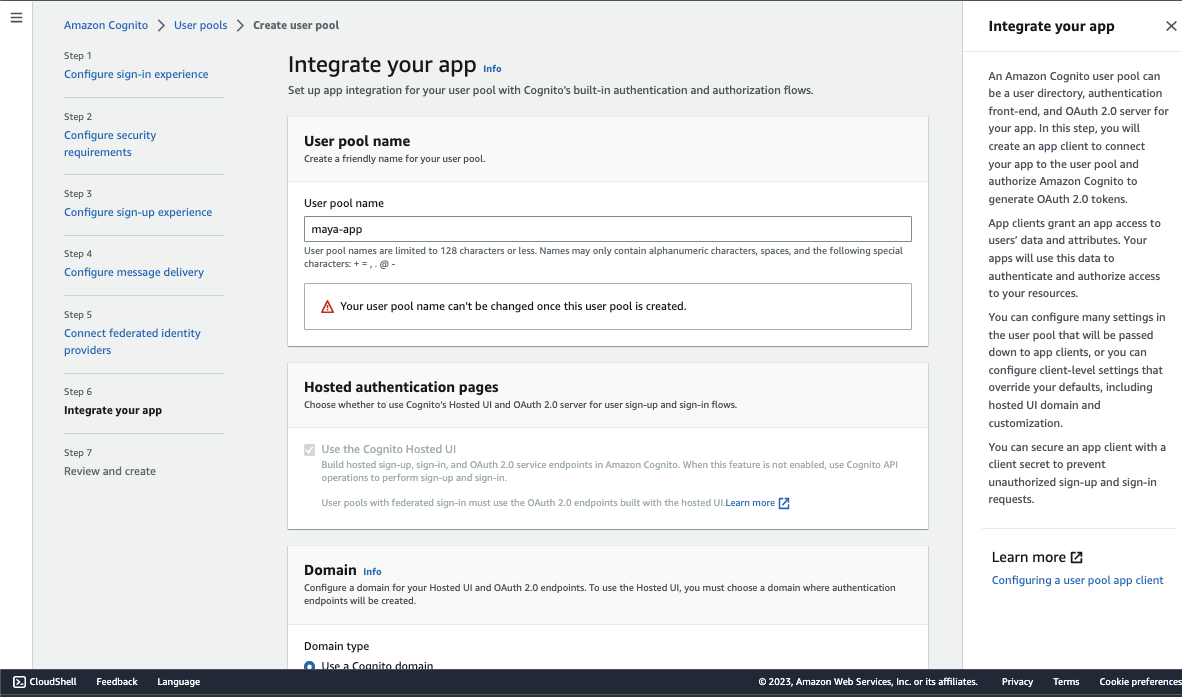
Give the user pool a name. Select Use Cognito domain in the Domain section and insert a prefix for the URL. Enter an App Client Name and select Public Client under Application Type. Select Don't generate client secret and add a callback URL which can be localhost for now.
Review and create.
Open up the user pool that has been created. Scroll down to Edit Hosted UI customization and upload an app logo and CSS template.
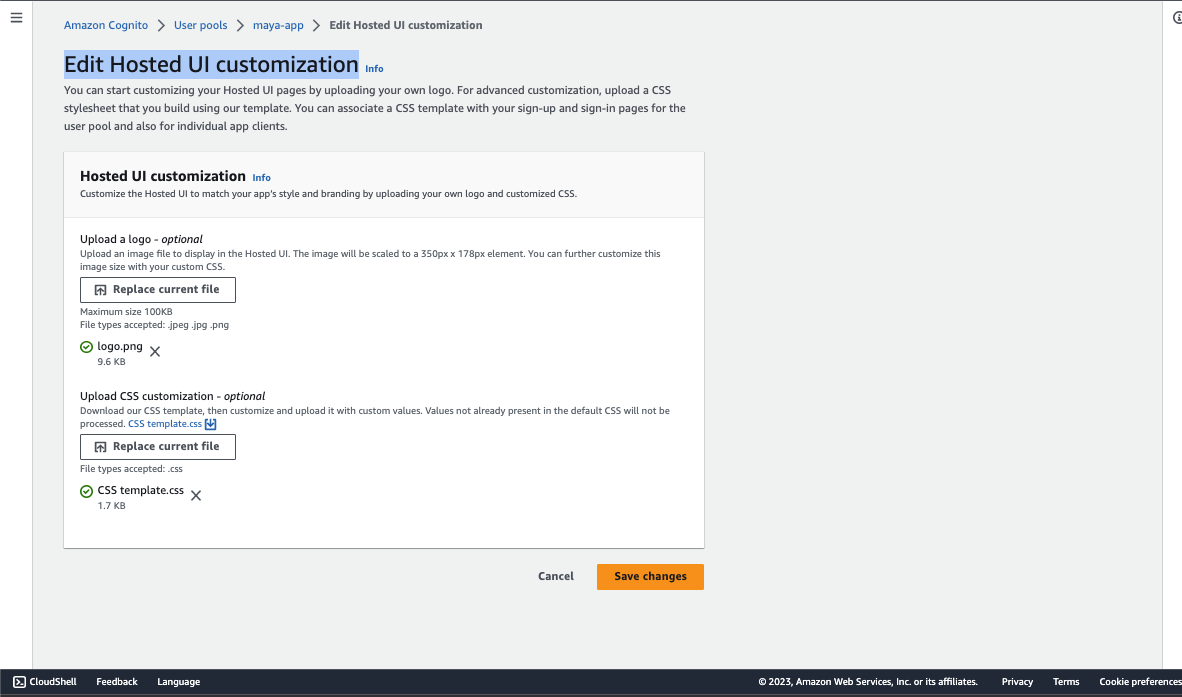
We can download the Cognito CSS template for use.
Back on the user pool home page, scroll down to the App client list and click on the app client we just created.
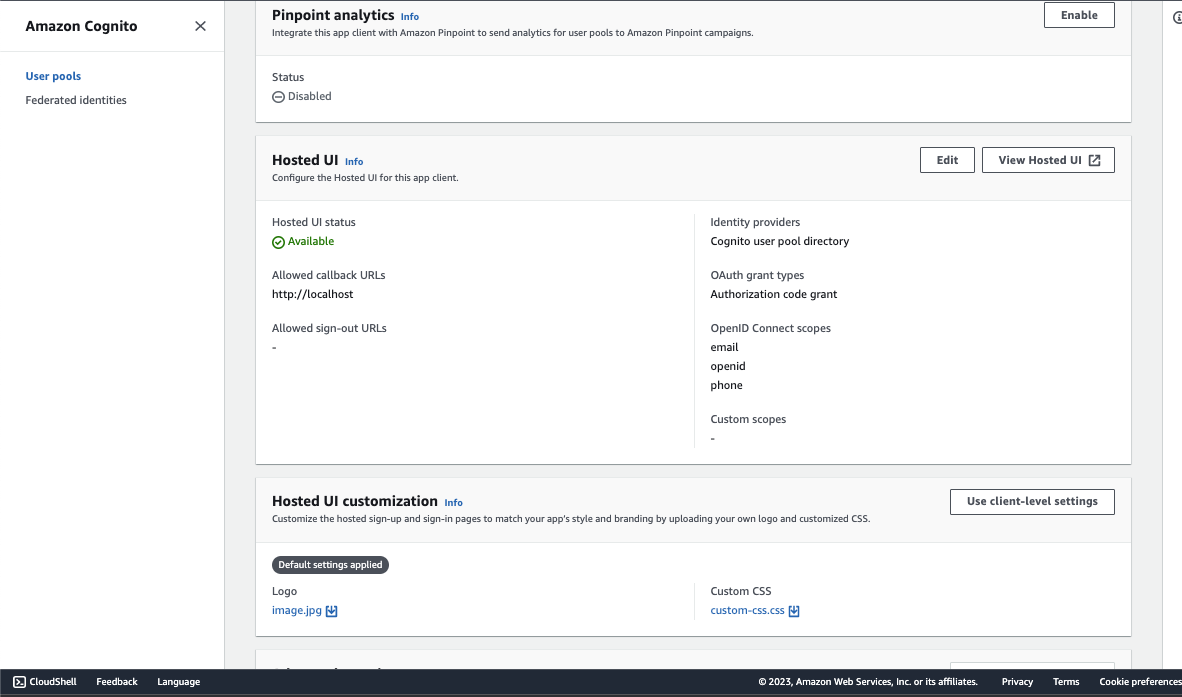
Click on View Hosted UI. To open up the app sign up page.

Testing User Sign Ups
Provide test information for a user using a verifiable email address and a valid password to sign up from the app sign-up page.
Every user that signs up on the app can be viewed on the user pool page for this app on AWS Cognito.
Next Steps
I hope this blog post properly explained the concept of user pools on AWS Cognito, how to create a user pool and sign up new users to the app.
As the next steps, we will dive deeper into connecting this user pool to the application backend built using Django REST Framework to create user records in the app database as well.


