

Deploy Django App with AWS Elastic Beanstalk and AWS RDS
Managed cloud hosting using Amazon Web Services, Docker and Django


This blog post outlines the process for deploying a Django web app to the cloud using AWS Elastic Beanstalk. The application data is stored in a database that is also cloud-hosted using an AWS Relational Database Service (RDS) DB instance.
Objectives 👋
Build a Django web and deploy it to the AWS cloud to make it publicly available using AWS Elastic Beanstalk.
Leverage AWS Relational Database Service (RDS) to store data that is collected and updated by the application.
Test the application's public URL on Postman.
Prerequisites 📌
Pull the project prebuilt Django locally deployed web app from GitHub. The web app is an employee data app that stores information (employee id, first name, last name, employment date and certifications) on every employee on the app as an object in the database. The app uses a Many-to-One relationship (also known as a foreign key relationship) to map every employee to their certifications in the database. You can also follow the step-by-step process for building and locally running this app here.
AWS IAM user account with management console access.
Postman
Overview 💫
What is AWS Elastic Beanstalk?
AWS Elastic Beanstalk is an AWS service for deploying web applications to the cloud that supports the developer only to write the code for the app and not manage the underlying infrastructure for provisioning and hosting the app. It enables auto-scaling for the application to handle peak traffic peaks while minimising costs and capacity provisioning, load balancing, and application health monitoring.
There is no additional charge for AWS Elastic Beanstalk. You pay for AWS resources (e.g. EC2 instances) you create to store and run your application.
AWS Relational Database Service
AWS Relational Database Service (RDS) is a cloud-based database service that makes it easy to set up, operate, and scale a relational database in the cloud. It supports popular database engines and provides features such as automatic backups, point-in-time recovery, and read replicas. RDS is a good choice for developers and businesses who want a fully managed database solution that is easy to use and scalable.
As a part of AWS Free Tier, AWS RDS provides 750 hours of Amazon RDS Single-AZ db.t2.micro, db.t3.micro, and db.t4g.micro instances usage running MySQL, MariaDB, and PostgreSQL databases each month. Read more about AWS RDS pricing here.
The Development 💻 💻
Run the Django app locally
Clone the project GitHub repo and pull the code to your local machine.
Open the project on your code IDE. I am using PyCharm. Open the terminal tab and create a virtual environment in the project root directory.
python3 -m venv .
- Activate the virtual environment.
source ./bin/activate
- Install Django in the virtual environment and some other project dependencies.
pip install django==2.2
pip install python-dotenv
pip install djangorestframework
pip install awscli
pip install awsebcli
pip install psycopg2-binary==2.9.3
pip install django-environ
- Run the app locally.
python manage.py runserver
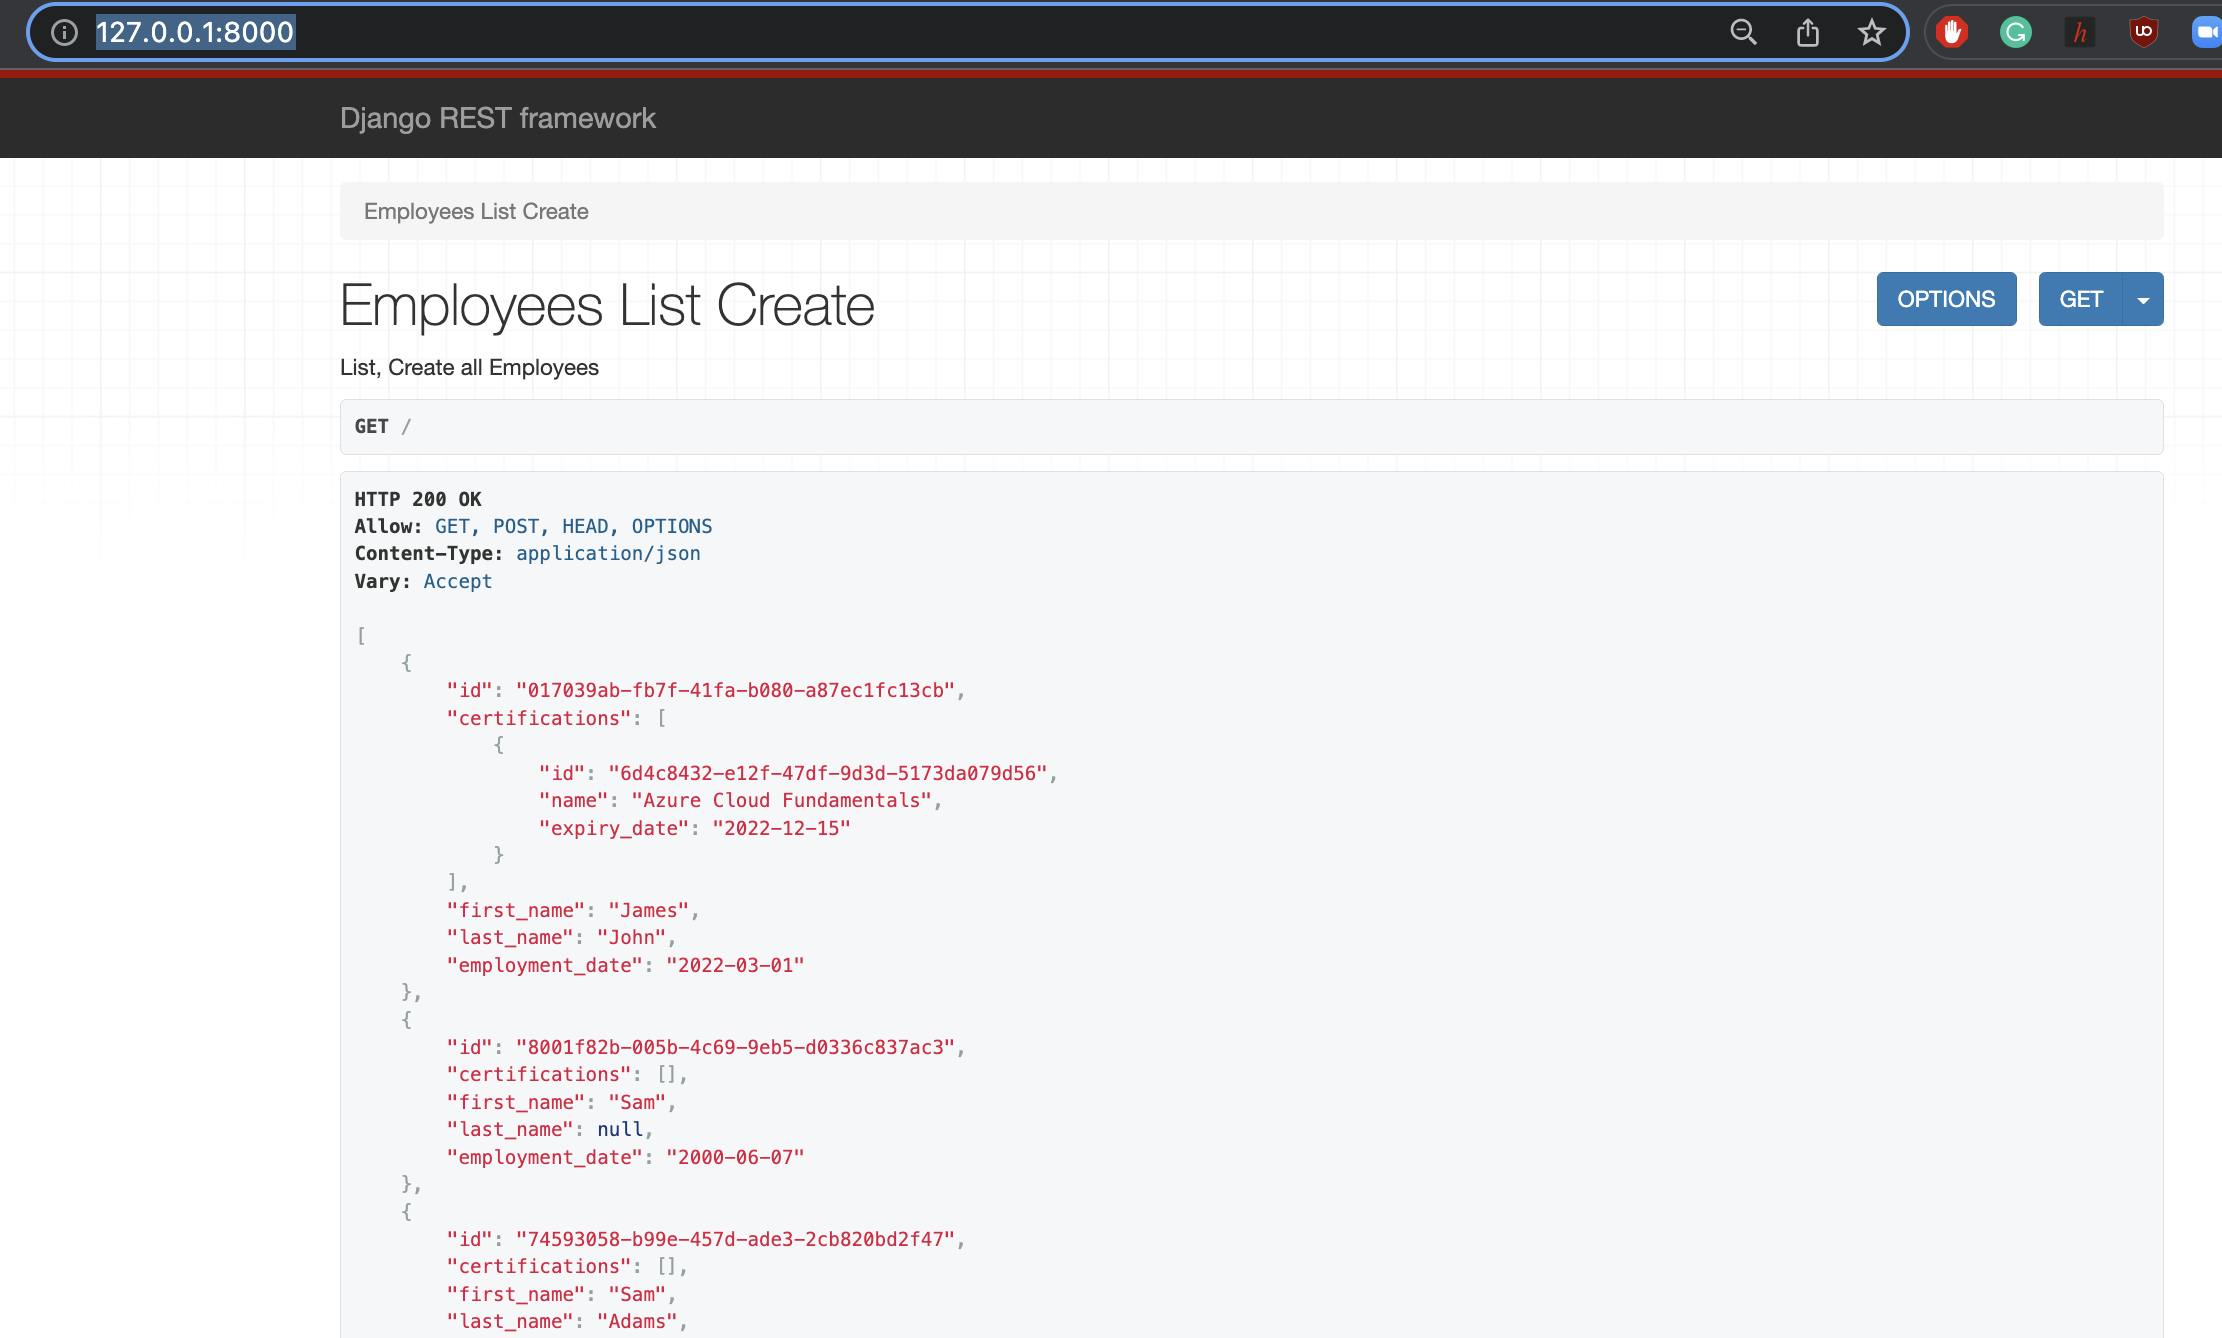
- Click on the localhost URL http://127.0.0.1:8000/ to view your app running locally
Elastic Beanstalk Django app configuration
- Ensure that the project virtual environment is activated on the terminal window. Run the command below from the project root directory to activate it if it is not activated.
source ./bin/activate
- Run the command below to list all of the project dependencies and export them to a file named requirements.txt in the project root directory.
pip freeze > requirements.txt
- Within the same directory, create another directory named .edextensions.
mkdir .edextensions
- Go into the .edextensions directory and create a configuration file called django.config that has the following content.
option_settings:
  aws:elasticbeanstalk:container:python:
    WSGIPath: employeeData.wsgi:application
Deploy Django app to Elastic Beanstalk environment
Ensure that your AWS IAM user has the appropriate permissions for performing AWS ElasticBeanstalk administrative tasks.
- Initialise the Elastic Beanstalk environment and create an application. You will be prompted to put in your access key ID and secret keys for authorisation.
eb init -p python-3.7 employee-data
- Create an SSH key pair to be able to ssh into the EC2 instance running the app.
eb init
- Create an environment and deploy your app to it. This process may take a while to complete. Be patient.
eb create employeeData-deployenv
- If you get a success message from the step above, run the command below to view your app CNAME.
eb status
- Copy the CNAME and post under ALLOWED HOSTS in the project settings.py file.
ALLOWED_HOSTS = ['employeeData-deployenv.eba-msrmdgk7.us-west-2.elasticbeanstalk.com']
- Deploy the app from the terminal.
eb deploy
- Open the app in your web browser.
eb open
AWS RDS
- Spin up a docker container for the Postgres database.
docker run --name django-images-postgres -p 5432:5432 \
    -e POSTGRES_USER=employee-data -e POSTGRES_PASSWORD=complexpassword5675 \
    -e POSTGRES_DB=employee-data -d postgres
Ensure that the container is running
docker ps -f name=employee-data-postgresConnect the database to the Django app by editing the DATABASE section on the project settings.py file.
DATABASES = {
    'default': {
        'ENGINE': 'django.db.backends.postgresql_psycopg2',
        'NAME': 'employee-data',
        'USER': 'employee-data',
        'PASSWORD': 'complexpassword5675',
        'HOST': 'localhost',
        'PORT': '5432',
    }
}
- Run the following commands to perform database migrations and run the app locally using the newly connected Postgres DB.
python manage.py makemigrations
python manage.py migrate
python manage.py runserver
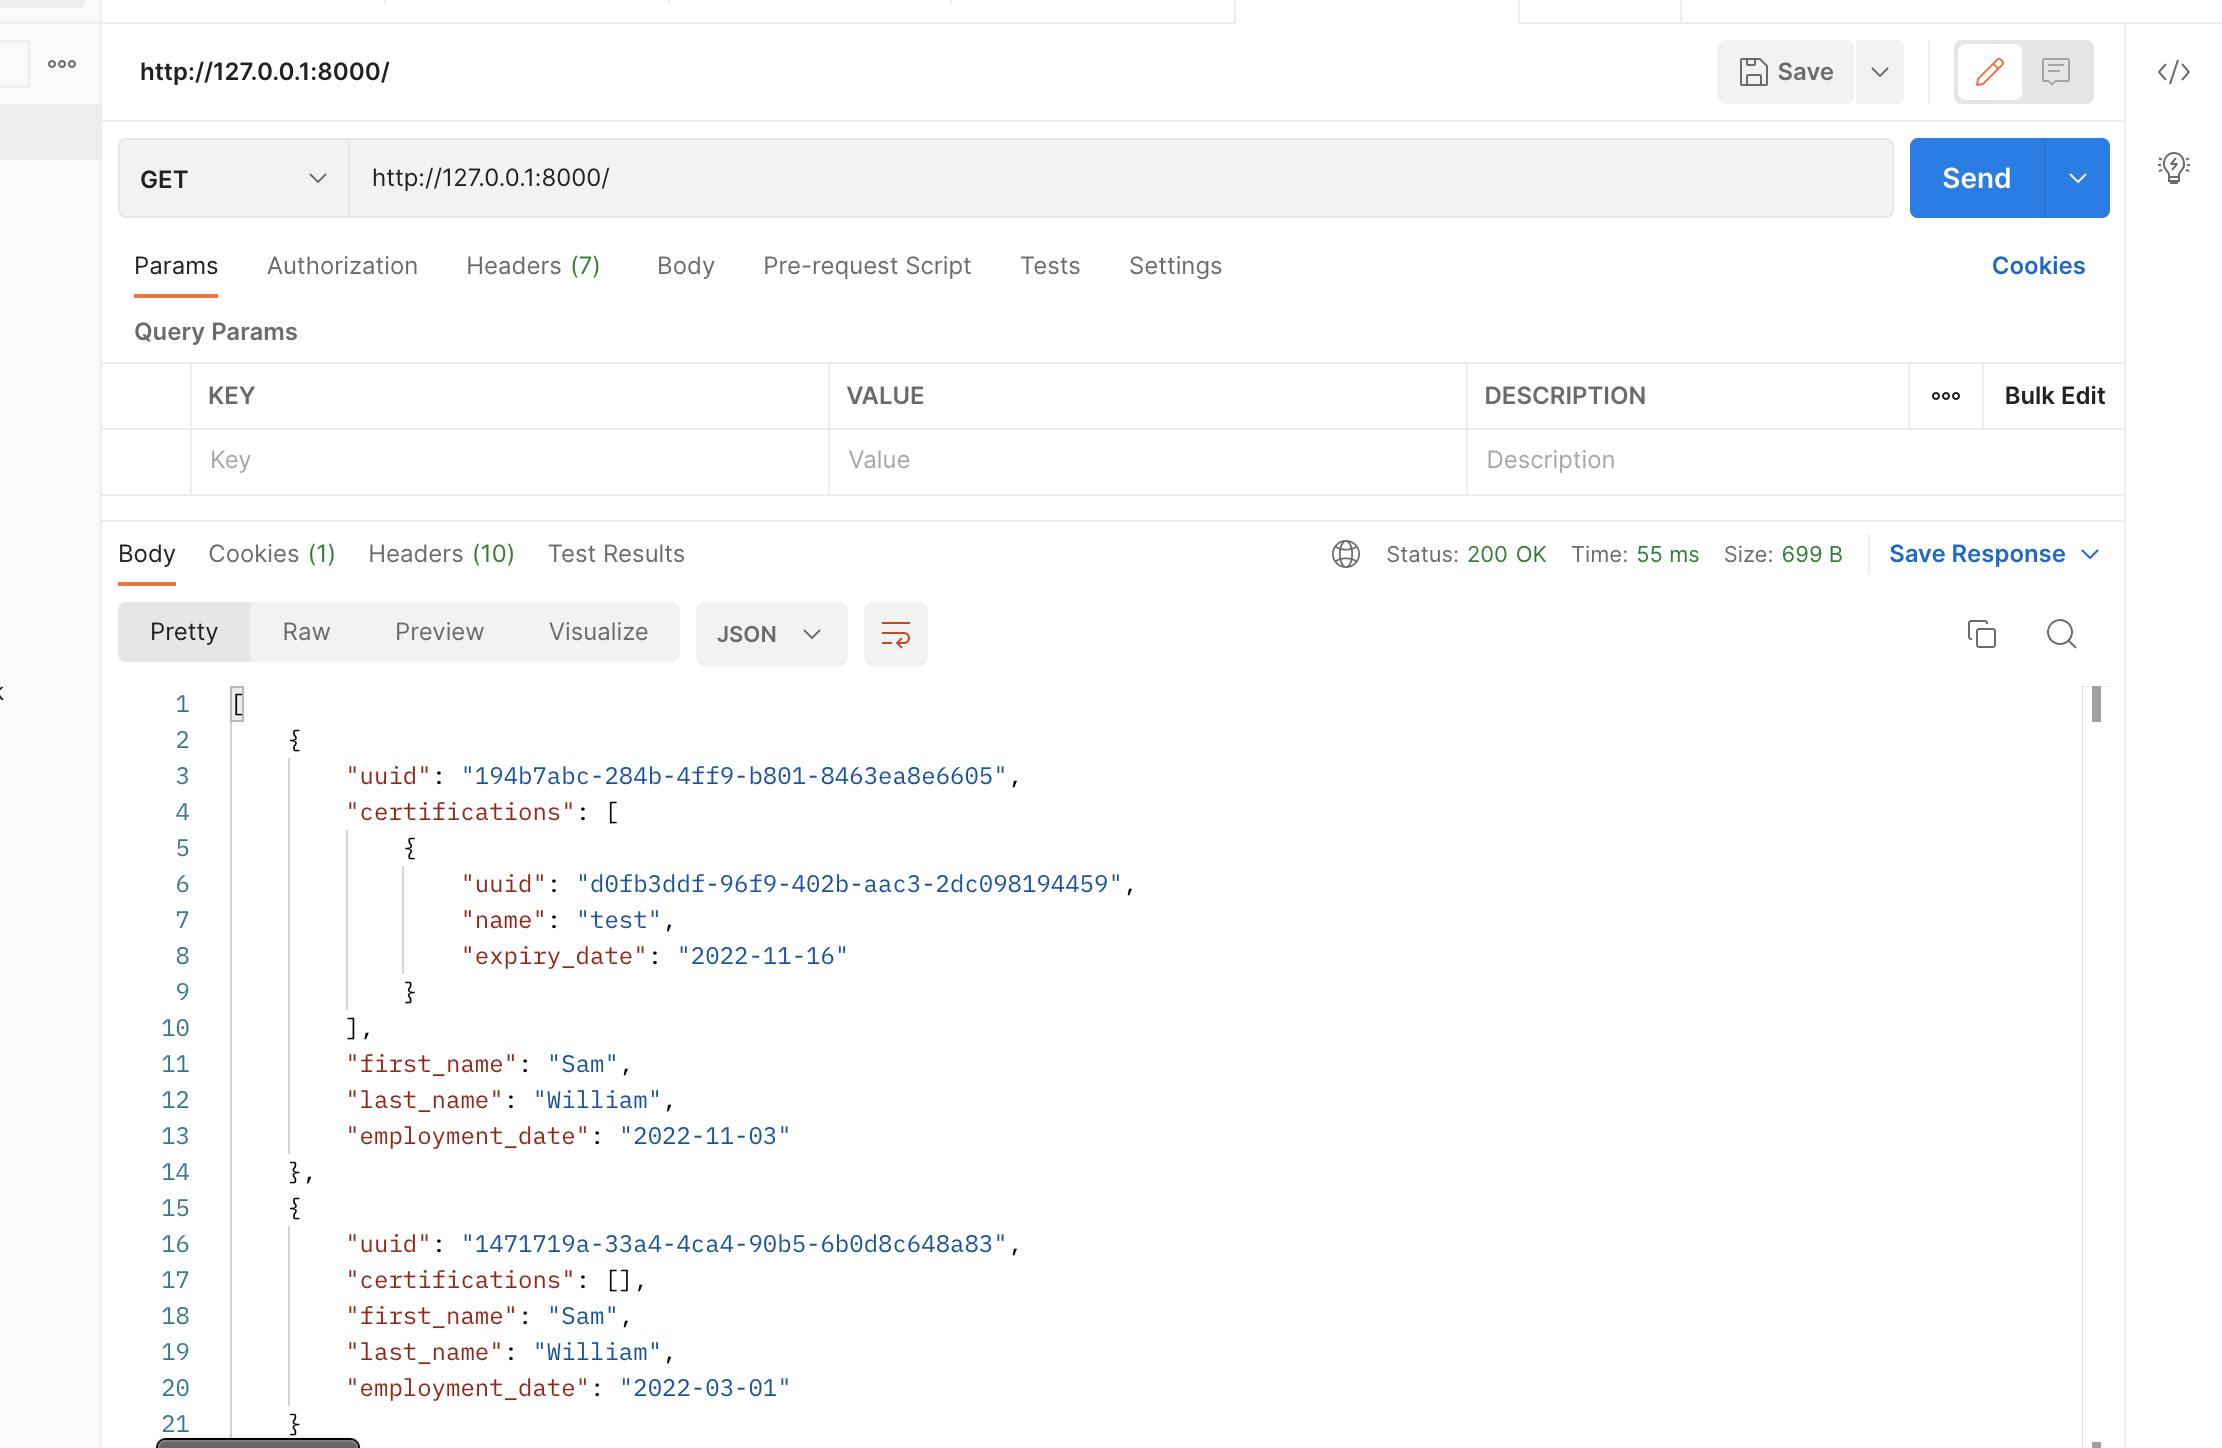
Create an Employee object on http://127.0.0.1:8000/ to test on Postman using a POST request.
Go into the .edextensions directory and create a configuration file called db-migrate.config that has the following content.
container_commands:
  01_migrate:
    command: "source /var/app/venv/*/bin/activate && python3 manage.py migrate"
    leader_only: true
option_settings:
  aws:elasticbeanstalk:application:environment:
    DJANGO_SETTINGS_MODULE: employeeData.settings
- On your terminal, run the command below to open the Elastic beanstalk console
eb console
Click on Configuration on the left-hand menu and click on Edit under Database.
Create an RDS database instance using the following settings.
Engine: Postgres
Instance class: db.t3.micro
username: [use a suitable user name]
password: [use a suitable password]
Input the new configuration details for the RDB to the settings.py file.
# Database
# https://docs.djangoproject.com/en/4.1/ref/settings/#databases
if 'RDS_DB_NAME' in os.environ:
    DATABASES = {
        'default': {
            'ENGINE': 'django.db.backends.postgresql_psycopg2',
            'NAME': os.environ['RDS_DB_NAME'],
            'USER': os.environ['RDS_USERNAME'],
            'PASSWORD': os.environ['RDS_PASSWORD'],
            'HOST': os.environ['RDS_HOSTNAME'],
            'PORT': os.environ['RDS_PORT'],
        }
    }
else:
    DATABASES = {
        'default': {
            'ENGINE': 'django.db.backends.sqlite3',
            'NAME': BASE_DIR / 'db.sqlite3',
        }
    }
- Run migrations.
python manage.py makemigrations
python manage.py migrate
- Deploy the app from the terminal.
eb deploy
Conclusion 😍
In conclusion, building a Django app that is cloud hosted on AWS Elastic Beanstalk and uses AWS RDS for the database can be easily achieved by following the steps outlined in this tutorial. Using Postman to test the app's endpoints helps to ensure that the app is functioning properly and that the app URL is publicly available.
