
AI Document Analysis API with AWS Textract and AWS App Runner
Building and Deploying Your AI-Powered Document Analysis Application with AWS Textract and App Runner

Software Engineer excited at building real live cloud-native applications using Python. MSc Cybernetics and Communications Engineering from Nottingham Trent University.
Overview
AI Document Analysis API is a single endpoint Flask application that uses AWS Textract to detect and extract text information from images. This blog post outlines the step-by-step process for building the application and embedding AWS services into it. The next steps after creating the application will be to use AWS App Runner to deploy and scale this application seamlessly.
Demo
Prerequisites
Install Git on your PC. Git is preinstalled in macOS. Use
git --versionto check if you have git installed.GitHub CLI: Install GitHub CLI using Homebrew by running
brew install ghin the Terminal.Programming IDE: You need a programming IDE installed on your PC. I used PyCharm for this project so I will recommend that. You may also use VSCode if you have that already installed.
Install Docker on your PC including Docker Desktop for managing your containers and images via a graphical user interface. Use
docker infoto check if you have Docker installed.
Introduction to AWS Textract
AWS Textract is an AWS AI computer vision service developed to enable the integration of document text detection and analysis into applications. AWS Textract has the following benefits;
Simplifies building text detection capabilities to mobile or web applications by making powerful and accurate text detection and analysis available with a simple API. This removes the complex process of expertise in computer vision and deep learning for developers.
With AWS Textfract developers, can quickly analyse and extract data from millions of documents which increases the scalability and efficiency of their applications.
AWS Textract is low cost. You only pay for the documents you analyse without paying an initial fee or making any upfront commitments.
Some of the features of AWS Textract are;
Extraction of printed and handwritten text.
Recognition of tables and forms.
Identification of key-value pairs in documents.
Understand the structure of a document.
Distinguish between different types of information, such as the text in a paragraph, the data in a table, or the information entered in a form field.
AWS Textract is useful for processing invoices, receipts, financial statements, medical records, and identity documents. It is used in various industries for automating document processing workflows, enhancing efficiency, and reducing the need for manual data entry. For instance, in the financial sector, it can automate the extraction of data from loan applications or bank statements, speeding up the approval process. In healthcare, it can help digitize patient records for better data management and accessibility. By integrating Textract into their systems, businesses can improve accuracy, save time, and focus on more strategic tasks, thereby enhancing overall productivity and customer experience.
Project Development
Getting Set with AWS
The first step in working with AWS is to sign up for an AWS account. To do this, visit https://portal.aws.amazon.com/billing/signup and follow the procedure for signing up, which includes verification steps to set up your account. When you create an AWS account, a root user account is automatically created for you. However, it is not advisable to use the root user account for ongoing access, due to security concerns associated with having overly broad access across your project. Instead, the recommended approach is to set up an administrative user account.
When you are logged into the AWS Management Console as a root user, navigate to the IAM Identity Center console and Enable IAM Identity Center. This allows you to grant administrative access to an administrative user within the IAM Identity Center.
To sign in to the AWS Management Console, use the URL sent to your email address at the time you created the IAM user.
Creating your Project Repo on GitHub
This project uses AWS App Runner for seamless deployment and scaling of the containerized project app. Therefore we need to create a version control system to work with. This may be achieved by using GitHub to host our source code and enable continuous integration and delivery hence, directly linking our codebase to AWS App Runner. This integration streamlines updates and deployment processes, ensuring efficient and automated application management.
Visit https://github.com/ to set up an account or sign in to your existing account.
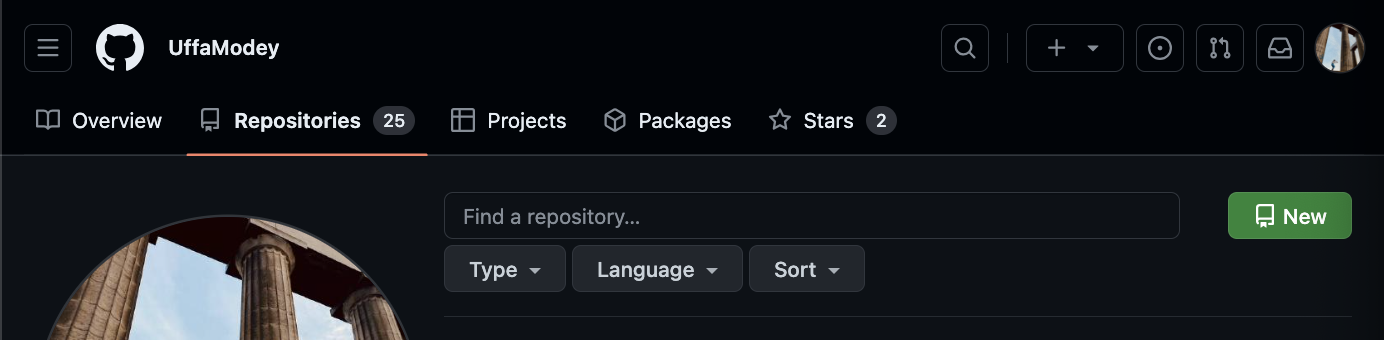
Under Your Repositories. Click on New.
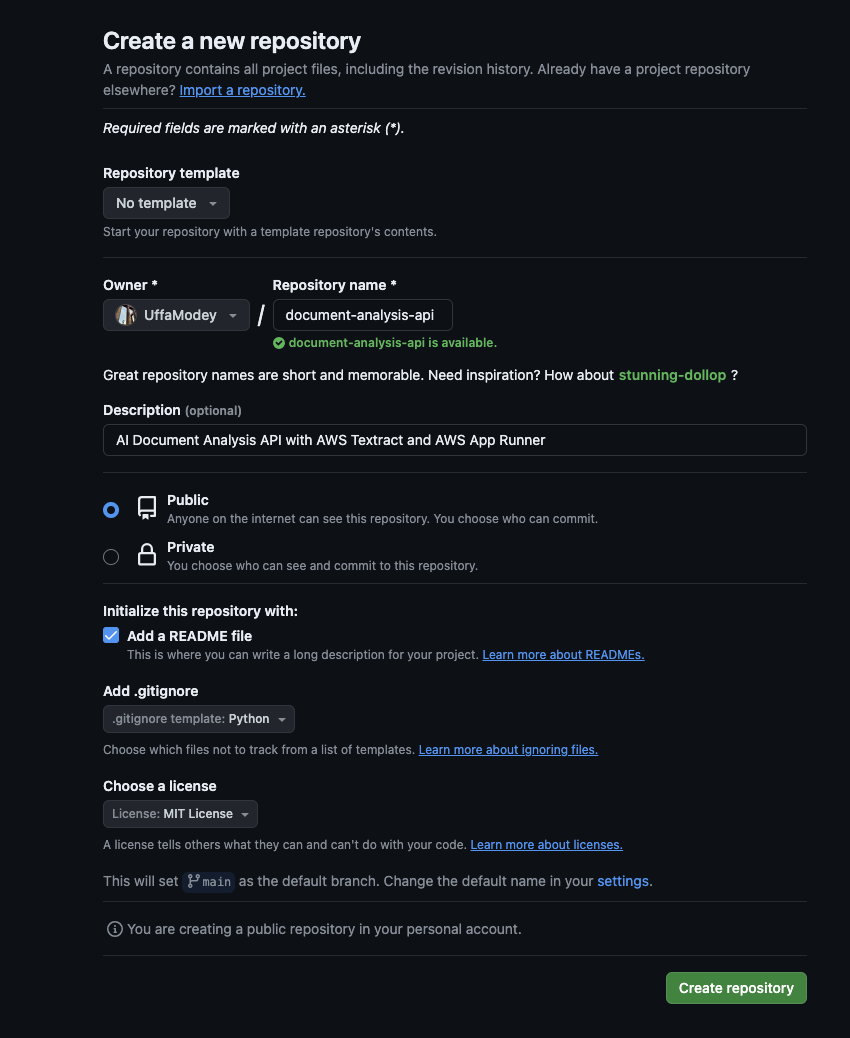
Give your repository a Name, and an optional Description. Set the repo to Public or Private depending on your preferred visibility setting. Leave Add a README checked and Add a .gitignore for Python. Choose a License to tell others what they can do with your code. Click Create Repository.
After creating the repo, click on Code and copy the command for cloning the project to your PC locally using the GitHub CLI.

Run the command in your PC terminal. Navigate to your desired project directory first and run the command there. Use
gh auth loginto authenticate with GitHub if needed. Usecd document-analysis-apito go into the project repo once you have cloned it locally.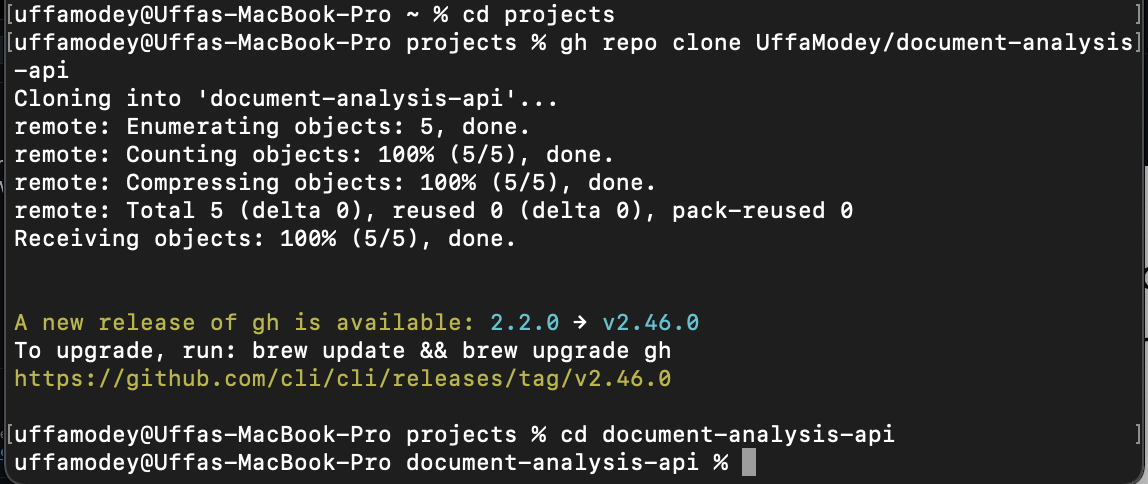
Open up the project on PyCharm.

Install AWS Command Line Interface (CLI) and AWS SDKs
- To install the latest version of AWS CLI on macOS for all users, download the installation file using the curl command below.
curl "https://awscli.amazonaws.com/AWSCLIV2.pkg" -o "AWSCLIV2.pkg"

Run the command below for the standard macOS installer program
sudo installer -pkg ./AWSCLIV2.pkg -target /You can now safely delete your installer file.
Download and install the AWS SDK for Python (Boto3). Create and activate a virtual environment for your project using the commands below.
python3 -m venv document-analysis-api-env

source ./document-analysis-api-env/bin/activate
- Install the latest Boto3 release via pip.
pip install boto3
Create Access keys for IAM User
An IAM (Identity and Access Management) user needs access keys to use AWS SDK and CLI because these keys authenticate requests to AWS services, ensuring secure and specific access to resources. They act as a security credential that allows programmatic access to AWS resources, enabling automated scripts and applications to interact with AWS services without manual login.
Sign into the AWS Management console and open the IAM console using this url https://console.aws.amazon.com/iam/
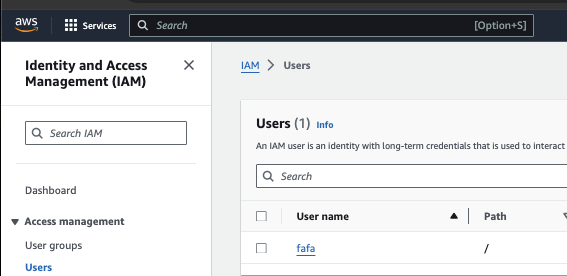
Under IAM resources, click on Users. The number of IAM users you have will be listed.
Under Username, click on the name of the user that you created.
Open the Security Credentials tab and click on Create Access Key. State your use case for the keys (Command Line Interface (CLI)) and click Next. Put an optional description to tag the key and click Create access key.
Download your access key as a CSV file and click on Done.
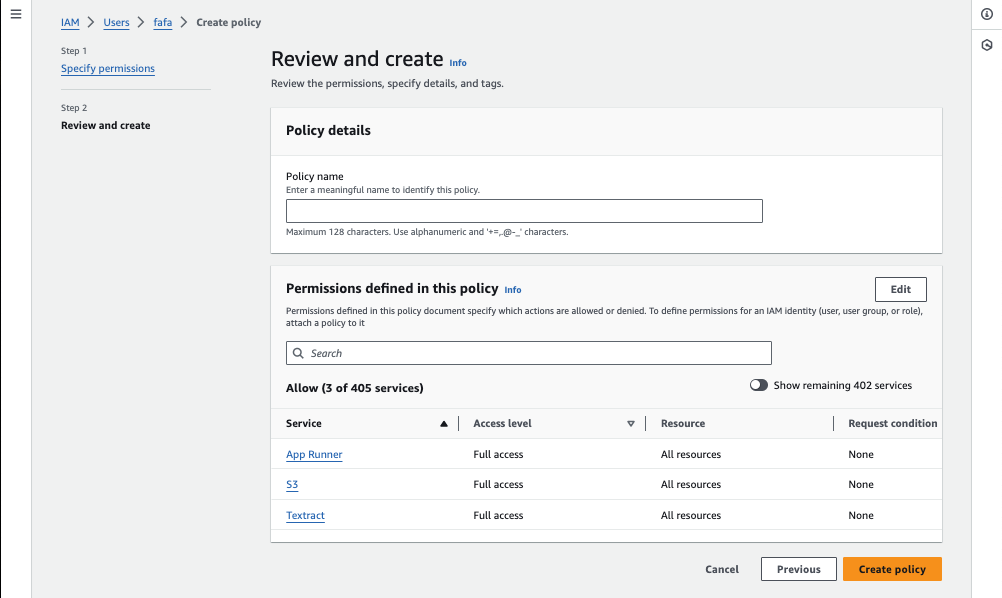
In the Permissions tab, ensure the IAM user has the appropriate permissions to use the AWS services required for this project. Click on Add Permissions and search for the AWS services shown in the image below (App Runner, S3 and Textract).
For macOS, visit
cd ~/.awson your PC terminal to open the .aws directory in your user's home directory.Open a file called credentials and update it with the access key ID and the access key as shown below. If you don't have the AWS CLI installed and configured, you won't find the .aws directory or the credentials file.
  [default]
  aws_access_key_id = YOUR_ACCESS_KEY
  aws_secret_access_key = YOUR_SECRET_KEY
Create an S3 Bucket
Amazon S3 (Simple Storage Service) is highly beneficial to using AWS Textract due to its scalable storage solution, which seamlessly integrates with Textract for storing and retrieving documents. When using Textract to extract text and data from documents, users can directly access files stored in S3 buckets, facilitating a smooth workflow for processing large volumes of documents without the need for additional infrastructure. This integration not only simplifies the management and analysis of extracted data but also enhances the efficiency and scalability of document processing tasks, making S3 an essential component in leveraging Textract's capabilities to their fullest extent.
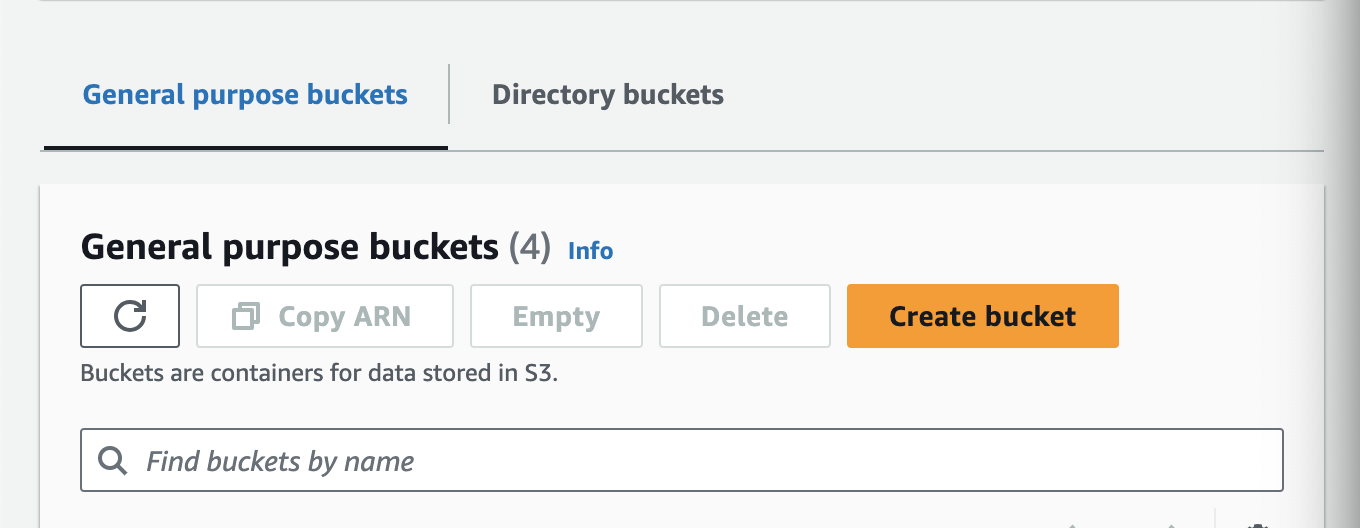
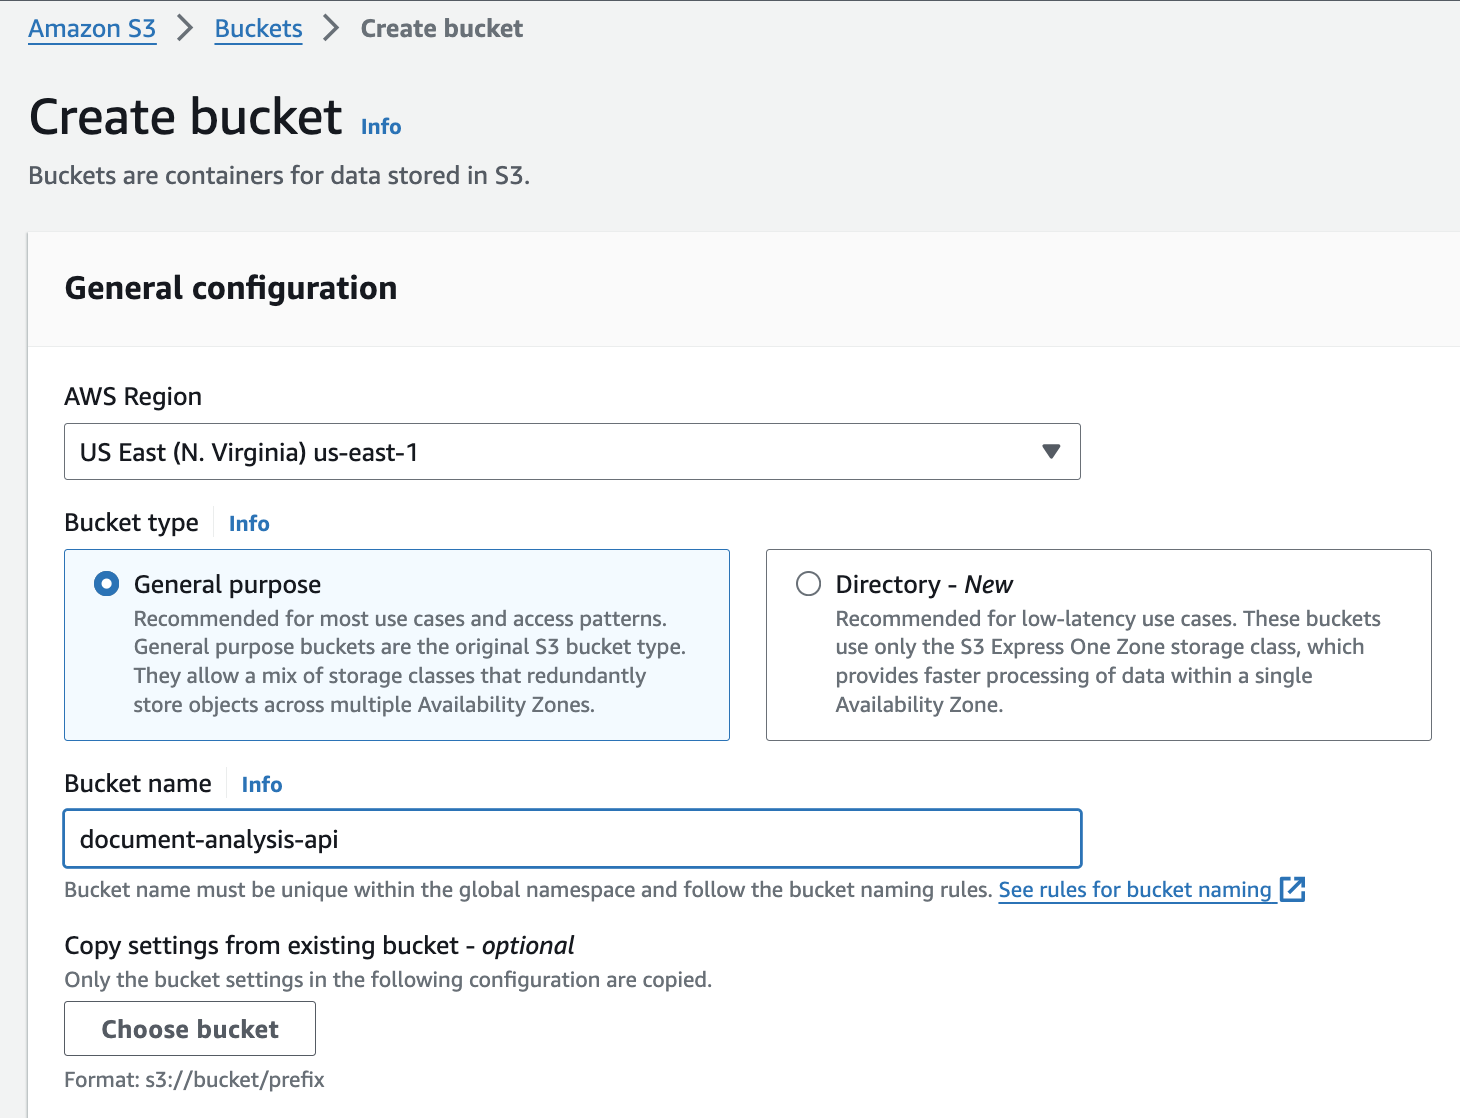
Login into the AWS Management Console and search for S3. Click on Create bucket.
Give your bucket a name and select the AWS region. Leave all other settings as default and click Create bucket.
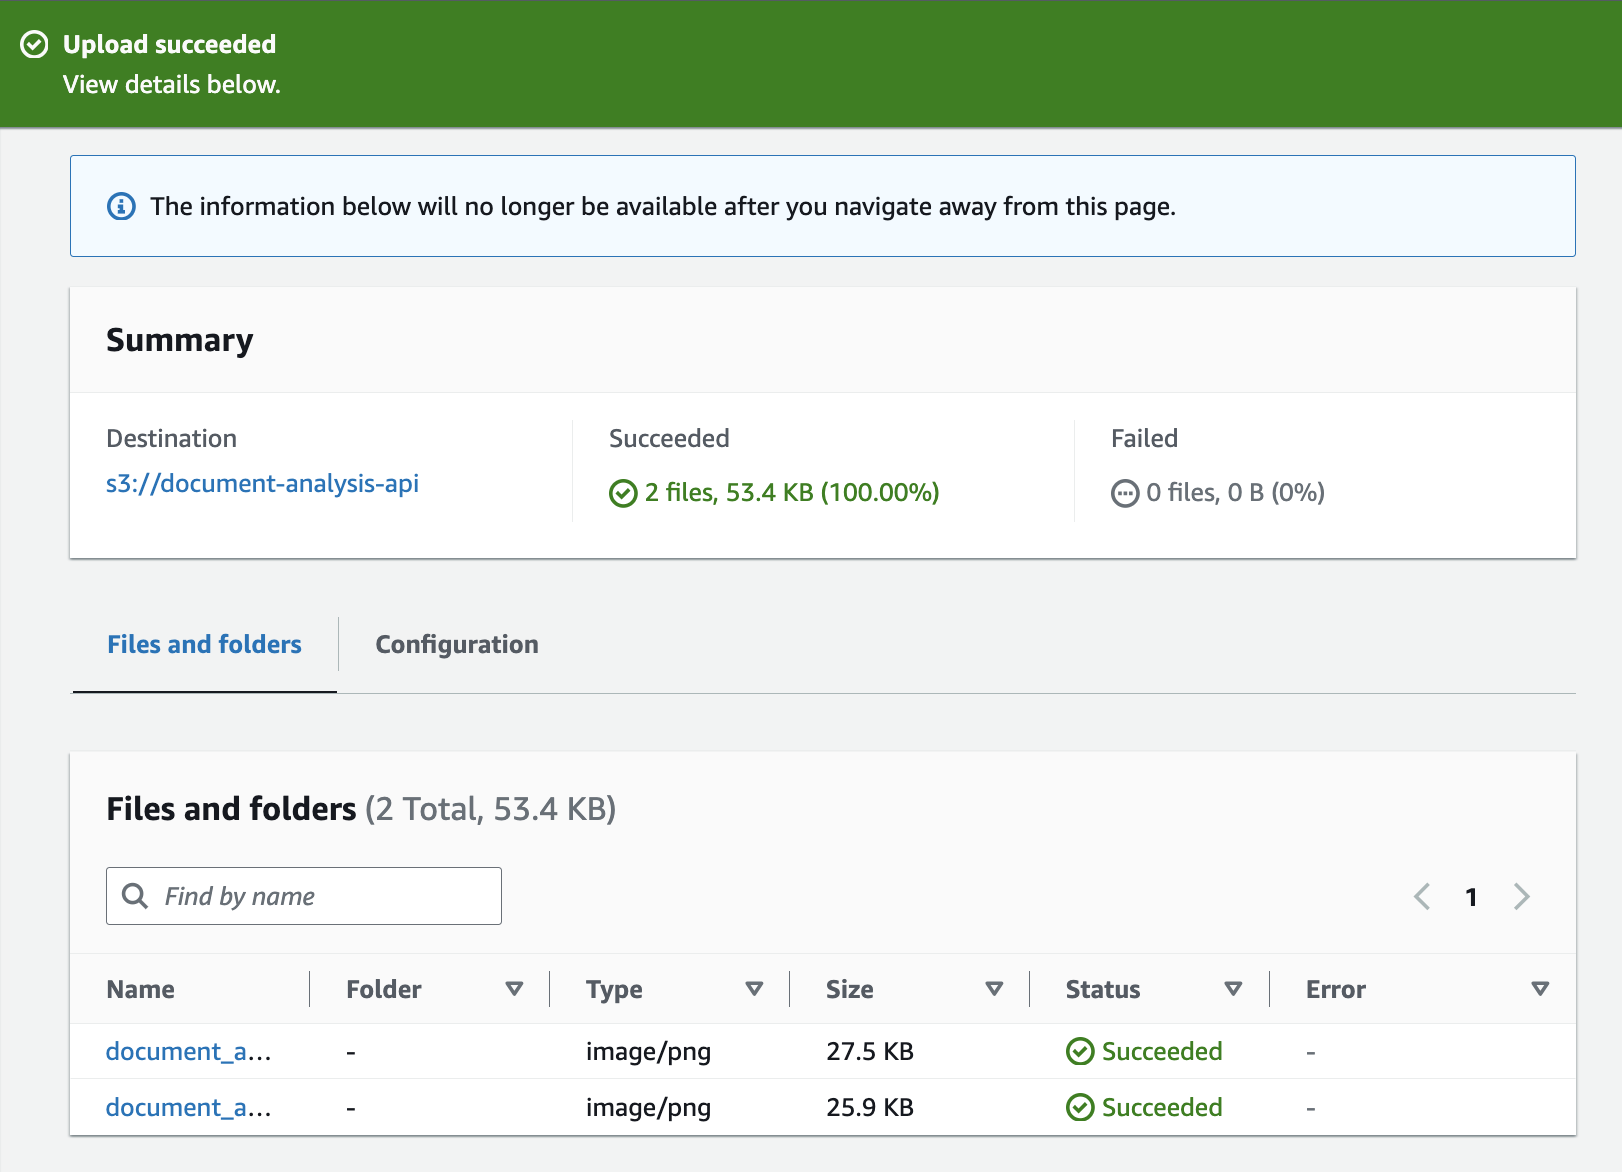
Upload objects in your bucket which will be the documents we want to analyse in this project. I have put two PNG images of the documents which you can also view from the project GitHub files. Click on the Upload button to add files to the bucket. You can use the drag-and-drop feature for the uploading.
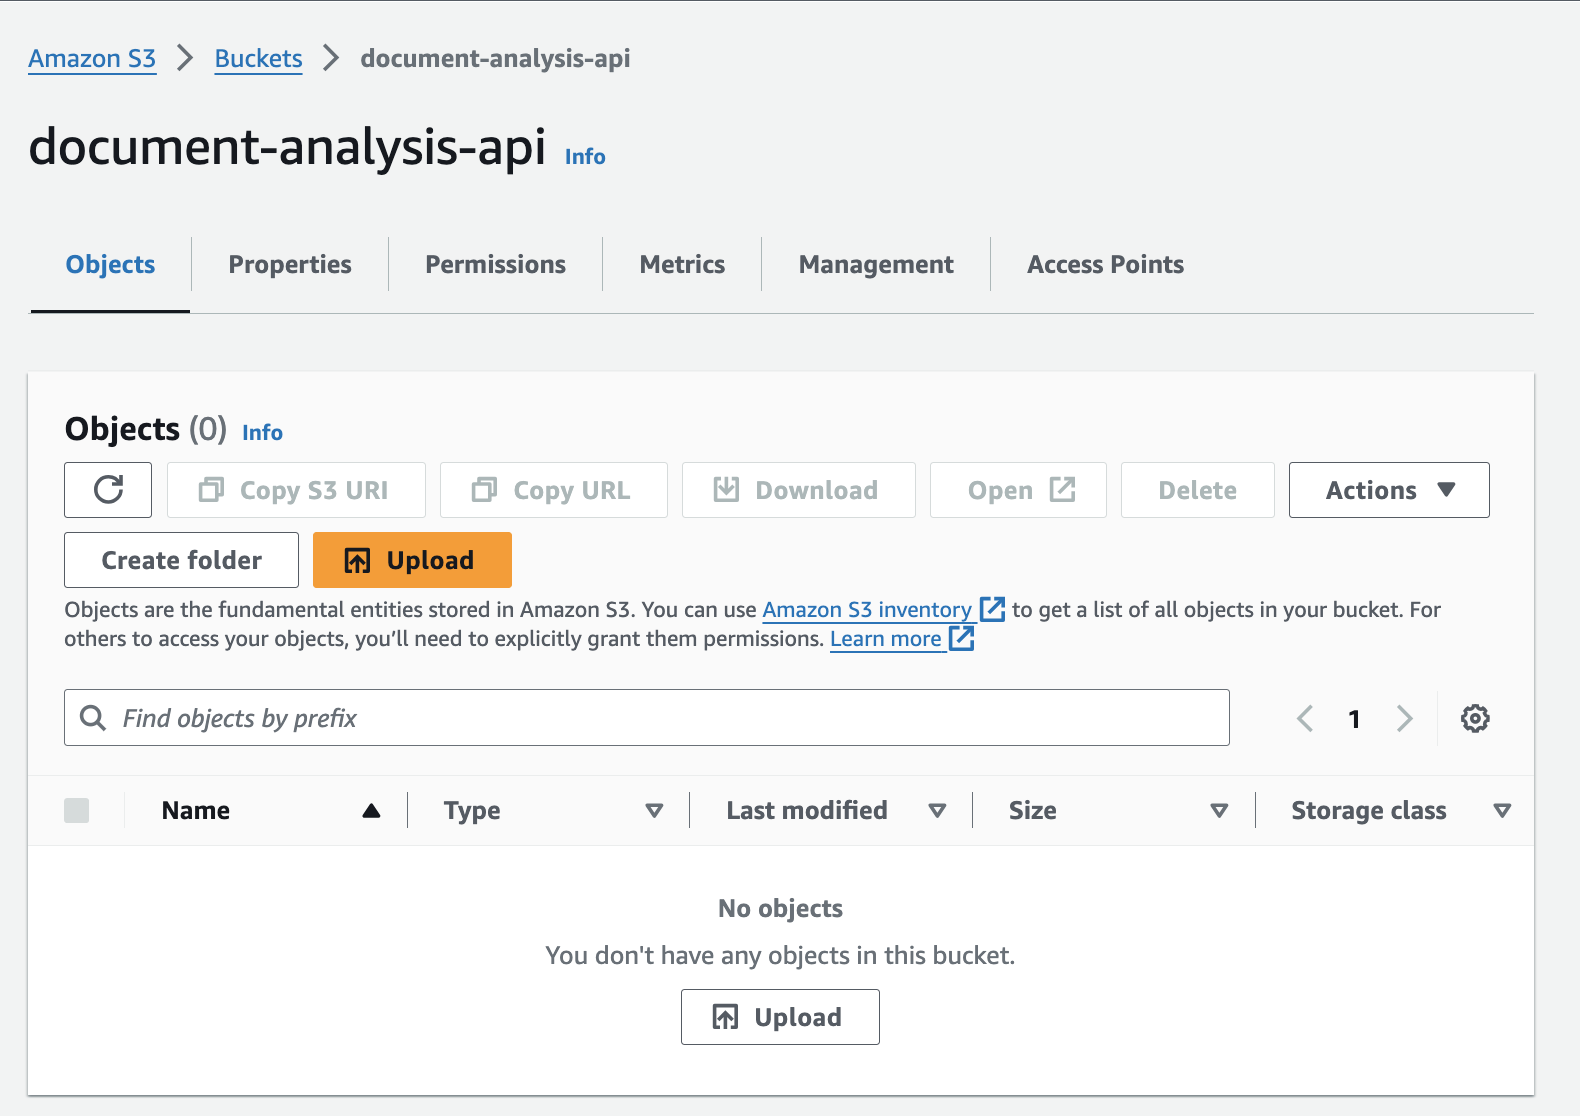
After the files have been uploaded, you should be able to view them in your bucket like this.
Document Analysis with AWS Textract
- Install Pillow in your virtual environment. Pillow is an open-source Python Imaging Library that adds image processing capabilities to your Python interpreter, supporting a wide array of image formats and providing powerful imaging features.
pip install Pillow
# Analyzes text in a document stored in an S3 bucket. Display polygon box around text and angled text
import boto3
import io
from PIL import Image, ImageDraw

def ShowBoundingBox(draw, box, width, height, boxColor):
    left = width * box['Left']
    top = height * box['Top']
    draw.rectangle([left, top, left + (width * box['Width']), top + (height * box['Height'])], outline=boxColor)


def ShowSelectedElement(draw, box, width, height, boxColor):
    left = width * box['Left']
    top = height * box['Top']
    draw.rectangle([left, top, left + (width * box['Width']), top + (height * box['Height'])], fill=boxColor)


# Displays information about a block returned by text detection and text analysis
def DisplayBlockInformation(block):
    print('Id: {}'.format(block['Id']))
    if 'Text' in block:
        print('    Detected: ' + block['Text'])
    print('    Type: ' + block['BlockType'])

    if 'Confidence' in block:
        print('    Confidence: ' + "{:.2f}".format(block['Confidence']) + "%")

    if block['BlockType'] == 'CELL':
        print("    Cell information")
        print("        Column:" + str(block['ColumnIndex']))
        print("        Row:" + str(block['RowIndex']))
        print("        Column Span:" + str(block['ColumnSpan']))
        print("        RowSpan:" + str(block['ColumnSpan']))

    if 'Relationships' in block:
        print('    Relationships: {}'.format(block['Relationships']))
    print('    Geometry: ')
    print('        Bounding Box: {}'.format(block['Geometry']['BoundingBox']))
    print('        Polygon: {}'.format(block['Geometry']['Polygon']))

    if block['BlockType'] == "KEY_VALUE_SET":
        print ('    Entity Type: ' + block['EntityTypes'][0])

    if block['BlockType'] == 'SELECTION_ELEMENT':
        print('    Selection element detected: ', end='')

        if block['SelectionStatus'] == 'SELECTED':
            print('Selected')
        else:
            print('Not selected')

    if 'Page' in block:
        print('Page: ' + block['Page'])
    print()


def process_text_analysis(s3_connection, client, bucket, document):
    # Get the document from S3
    s3_object = s3_connection.Object(bucket, document)
    s3_response = s3_object.get()

    stream = io.BytesIO(s3_response['Body'].read())
    image = Image.open(stream)

    ## Uncomment to process using S3 object ###
    response = client.analyze_document(
       Document={'S3Object': {'Bucket': bucket, 'Name': document}},
       FeatureTypes=["TABLES", "FORMS", "SIGNATURES"])

    # Get the text blocks
    blocks = response['Blocks']
    width, height = image.size
    print ('Detected Document Text')

    # Create image showing bounding box/polygon the detected lines/text
    for block in blocks:
        DisplayBlockInformation(block)
        draw = ImageDraw.Draw(image)

        # Draw bounding boxes for different detected response objects
        if block['BlockType'] == "KEY_VALUE_SET":
            if block['EntityTypes'][0] == "KEY":
                ShowBoundingBox(draw, block['Geometry']['BoundingBox'], width, height, 'red')
            else:
                ShowBoundingBox(draw, block['Geometry']['BoundingBox'], width, height, 'green')
        if block['BlockType'] == 'TABLE':
            ShowBoundingBox(draw, block['Geometry']['BoundingBox'], width, height, 'blue')
        if block['BlockType'] == 'CELL':
            ShowBoundingBox(draw, block['Geometry']['BoundingBox'], width, height, 'yellow')
        if block['BlockType'] == 'SELECTION_ELEMENT':
            if block['SelectionStatus'] == 'SELECTED':
                ShowSelectedElement(draw, block['Geometry']['BoundingBox'], width, height, 'blue')

    # Display the image
    image.show()
    return len(blocks)

def main():
    session = boto3.Session(profile_name='default')
    s3_connection = session.resource('s3')
    client = session.client('textract', region_name='us-east-1')
    bucket = "document-analysis-api"
    document = "document_analysis_test_1.png"
    block_count = process_text_analysis(s3_connection, client, bucket, document)
    print("Blocks detected: " + str(block_count))


if __name__ == "__main__":
    main()
Set your profile name in the main function. This can be obtained from the AWS credentials you set up. Run
cd ~/.awson your PC terminal and open the credentials file using your preferred editor to view the profile name. I am using nanonano credentials. The profile name can be seen in square brackets at the top of the credentials file.[default]Update the name of your AWS region. In the main function, set the region name to the name of the region you're working from. I am working from
region_name='us-east-1'.Put in the name of the bucket.
bucket = "document-analysis-api"Put in the name of the document as it is stored in your bucket.
document = "document_analysis_test_1.png"Run the app.py file using
python3 app.py. Ensure that your virtual environment is activated and that you are in the directory that has the app.py file. In your terminal, you should see a response that contains details of the text that has been extracted from the image. 🌟 🌟 🌟 🌟 🌟🌟
Setting up a Flask app
Now that we can run the Python code, we need to change the app to a Flask app to work with it over the web. Update the code below to change the app to a Flask app.
- Install Flask in your virtual environment
pip install Flask
- Update the project code in the app.py file as follows.
# Analyzes text in a document stored in an S3 bucket. Display polygon box around text and angled text
import boto3
from flask import Flask
from text_extract import process_text_analysis

app = Flask(__name__)

session = boto3.Session(profile_name='default')
s3_connection = session.resource('s3')
client = session.client('textract', region_name='us-east-1')

@app.route('/')
def main():
    bucket = "document-analysis-api"
    document = "document_analysis_test_1.png"
    block_info = process_text_analysis(s3_connection, client, bucket, document)
    return {
        "Blocks detected": block_info
    }


if __name__ == '__main__':
    app.run(debug=True)
As you may notice, on line 3
from text_extract import process_text_analysiswe have taken out the part of the code that is responsible for extracting the image text to another file called text_extract.py that is saved in the project directory. View the code for text_extract.py in the project GitHub repo.We have also updated the code to return the response in a JSON format.
Run
python3 app.pyto start the app. Visit http://127.0.0.1:5000/ on Postman to view the response to the request.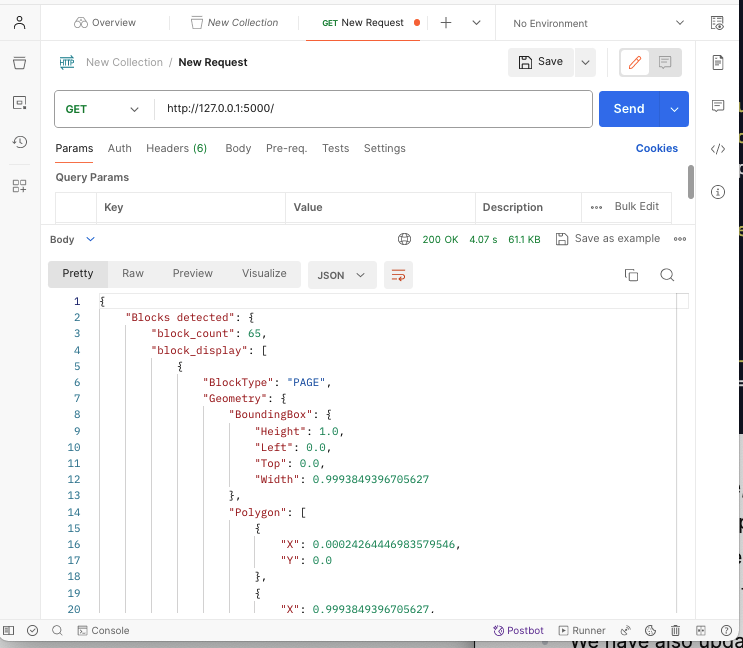
Containerising the app on Docker
Containerizing an app with Docker is like packing your entire project and its settings into a box that can be opened and run the same way everywhere. This makes it easier to share, move around, and scale up without worrying about it not working on different computers.
- Create a
Dockerfilein the project folder and update it with the code below.
# Use an official Python runtime as a parent image
FROM python:3.9-slim

# Set the working directory in the container
WORKDIR /usr/src/app

# Copy the current directory contents into the container at /usr/src/app
COPY . .

# Install any needed packages specified in requirements.txt
RUN pip install --no-cache-dir -r requirements.txt

# Make port 5000 available to the world outside this container
EXPOSE 5000

# Define environment variable
ENV FLASK_APP=app.py
ENV FLASK_RUN_HOST=0.0.0.0

# Run app.py when the container launches
CMD ["flask", "run"]
- To enable your Docker deployments to access your AWS credentials, update the app.py file with the following code.
import os
from dotenv import load_dotenv
from text_extract import process_text_analysis
load_dotenv()

session = boto3.Session(
    os.getenv("AWS_KEY_ID"),
    os.getenv("AWS_SECRET_ACCESS_KEY")
)
s3_connection = session.resource('s3')
client = session.client('textract',
                        region_name=os.getenv("AWS_DEFAULT_REGION"))
- Install python-dotenv in your project virtual environment using the command below.
pip install python-dotenv
- Create a .env file in your project directory and store your AWS credentials in it as environment variables.
AWS_KEY_ID=your_access_key_id
AWS_SECRET_ACCESS_KEY=your_secret_access_key
AWS_DEFAULT_REGION=us-east-1
Put all your project dependencies in. a requirements.txt file using the command below.
pip freeze > requirements.txtEnsure that you have Docker installed on your PC. The
docker build .command creates a Docker image from a Dockerfile in the current directory, using the directory's contents as the build context.Run
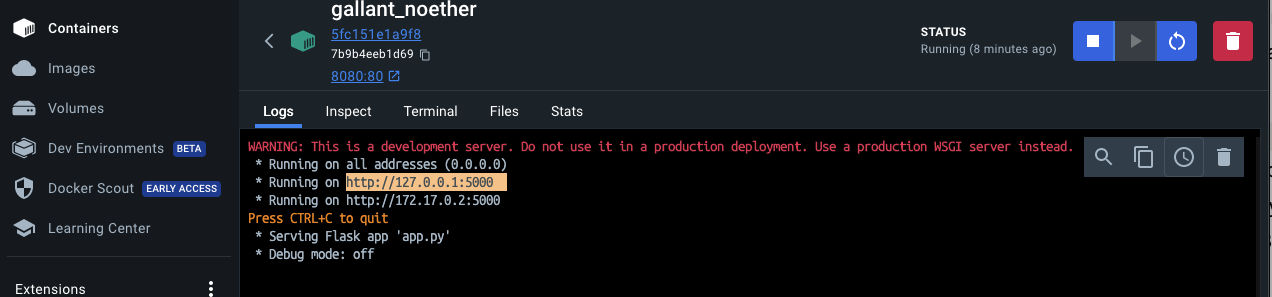
docker run -d -p 8080:80 <your_image_name>to start a Docker container from<your_image_name>in detached mode, mapping port 8080 on the host to port 80 inside the container, allowing you to access the application running in the container via the host's port 8080. You can view your image ID by running thedocker imagescommand.View your app running as a container in the Docker Desktop app.

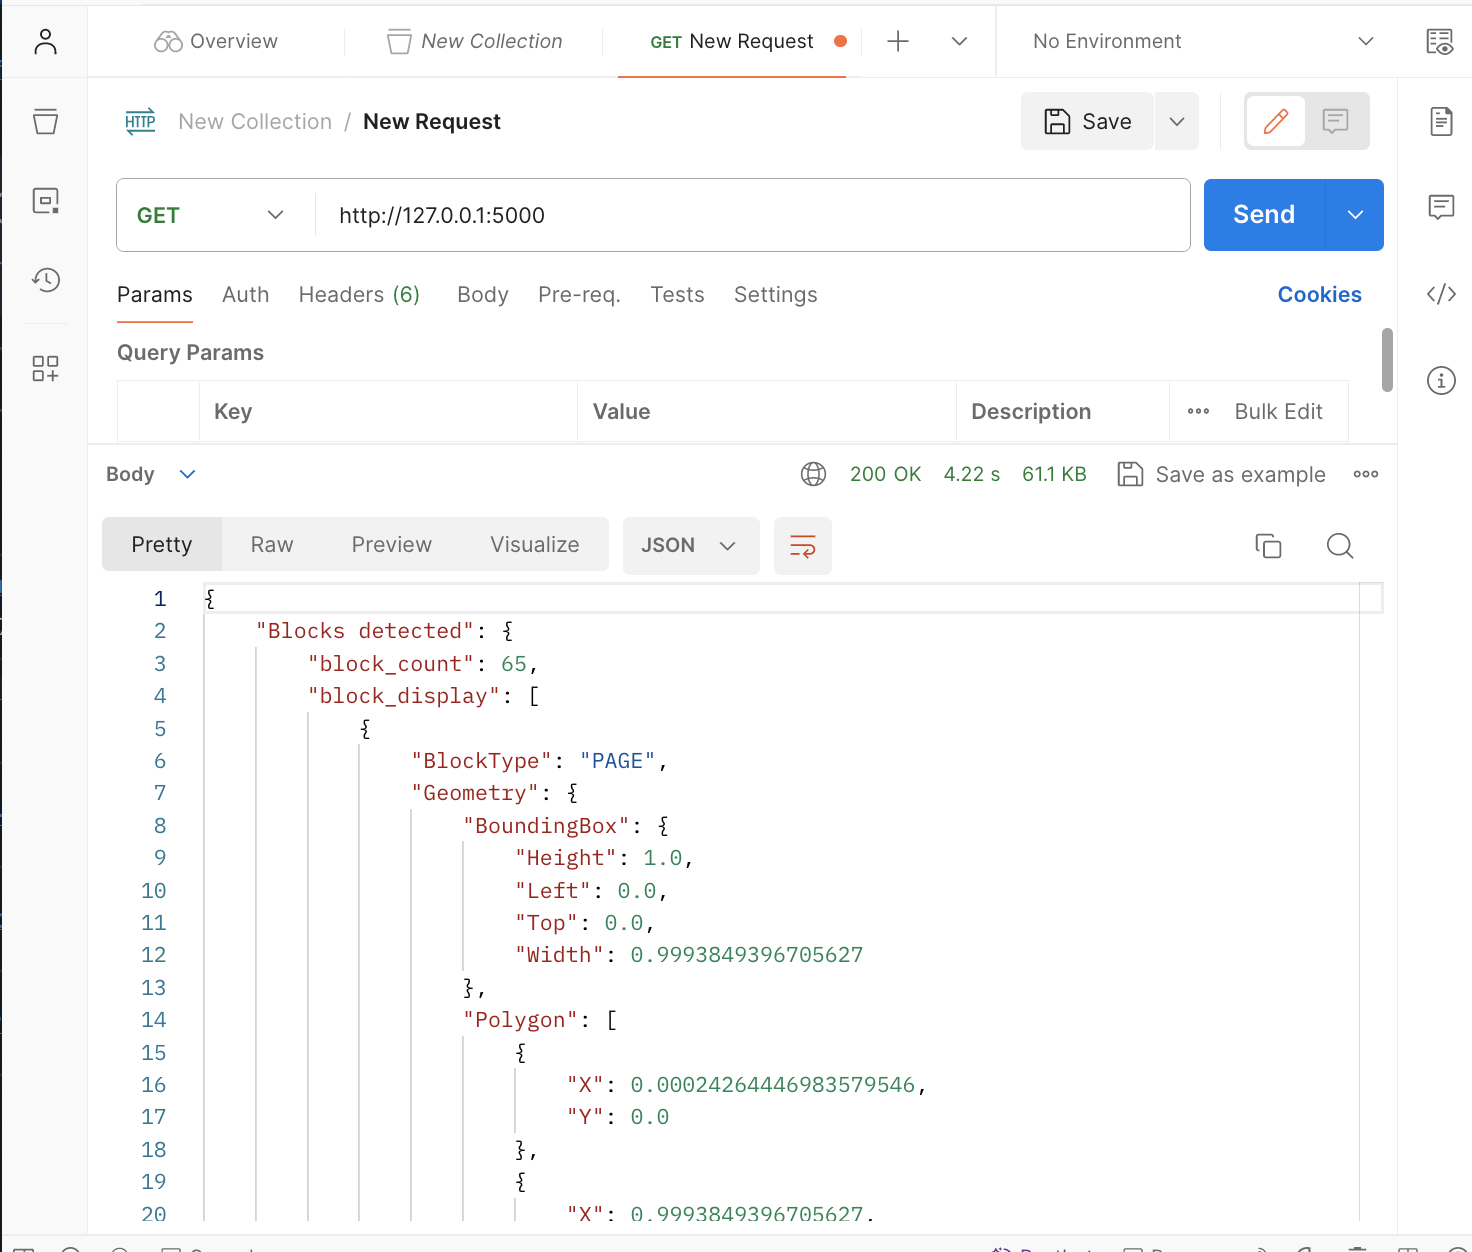
You can now access the app once again on Postman using http://127.0.0.1:5000
Cleaning Up
- Push the project code to your GitHub repo using the commands below
git init
git add .
git commit -m "containerised flask app"
git push origin main
- You can now view the project source code in the remote GitHub repo https://github.com/UffaModey/document-analysis-api/tree/main
Next Steps
- App deployment using AWS App Runner: In the next blog post, I will outline the step-by-step process for using AWS App Runner to deploy and call this project.
References
For further reading about AWS Textract, please use the following links.


